
This tutorial explains how to set up, start, and moderate a video-based focus group in Quallie.
How to moderate the video focus group?
Before the session:
Make sure everything is ready before participants join:
- Upload all images and videos you plan to show.
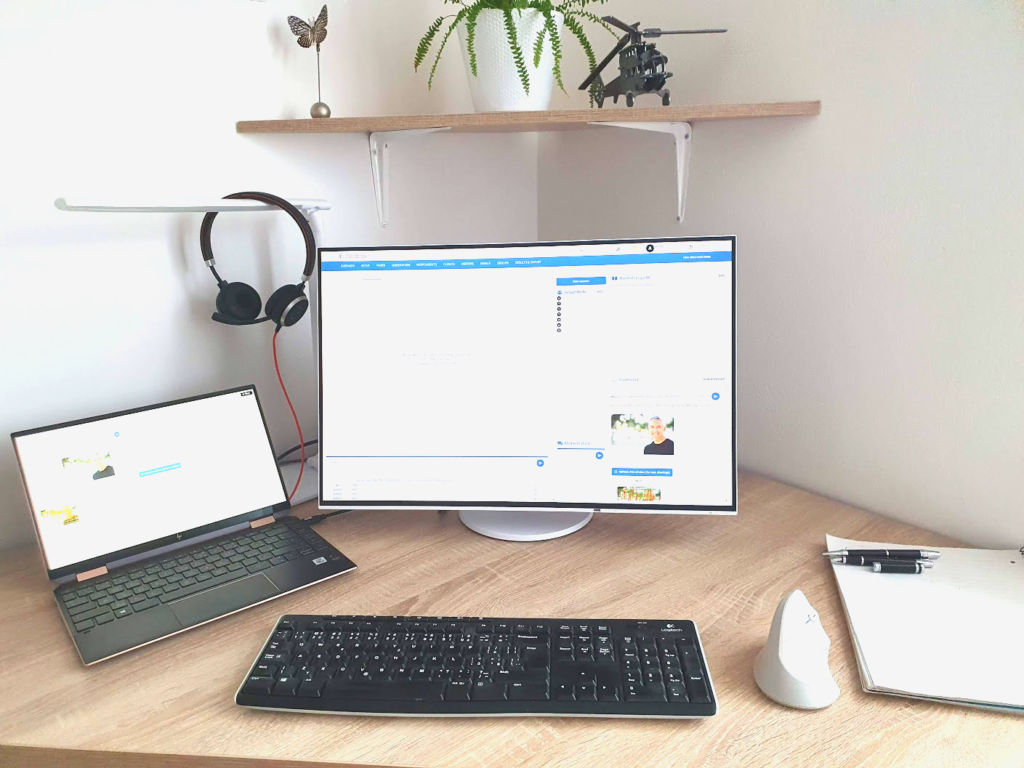
- Use a headset with a microphone for best audio quality.
- Enable session recording in the page settings if you want to record.
- Use a stable, fast internet connection.
- Use a screen with 1920×1080 resolution or higher to see the full moderator panel.
- Google Chrome is highly recommended.
- Activate the video focus group page so respondents can join.
Starting the session
Open the video session room.
- Left side: video chat with respondents
- Below video: text chat
- Right side: moderator tools (guide, whiteboard, respondents list, client chat)
Before the session starts, the panel is empty. Participants will only see an info screen with recommendations.
To start the session, click the “Start video session” button in the middle column.
- The button turns red.
- Until you do this, nobody can join the video (not even you).
Once started, participants will see “Start your camera”.
- Their browser will ask for permission to use the camera and microphone.
- They must click Allow to join.
If you are the first person in the room, your video will fill the entire panel.

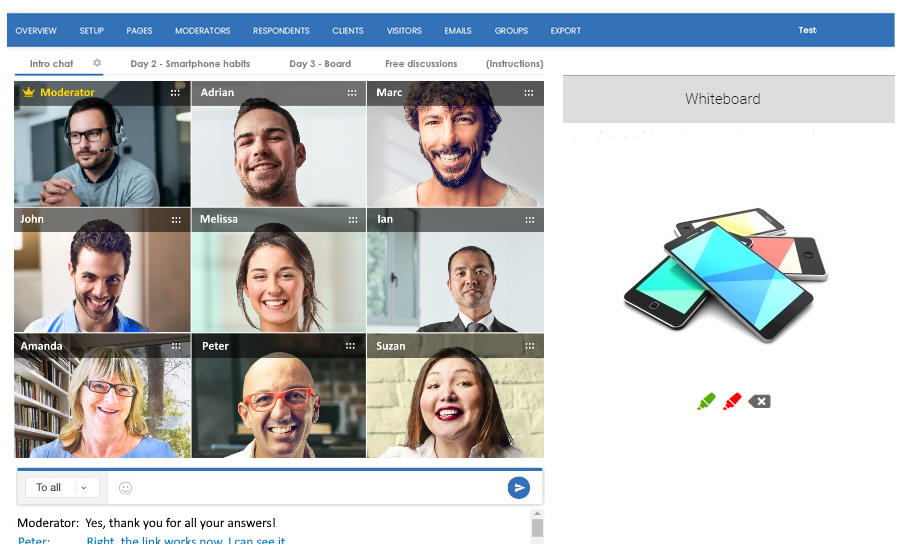
Moderator’s panel
With more participants, the video area switches to a grid layout.
Recommended number of participants: 8-12 participants
(More than 12 is difficult to manage and follow.)
Participants can leave at any time by clicking “Stop camera”.
Microphones can be muted individually.
The moderator is marked with a yellow name and crown icon.
Leaving the page
- If anyone leaves the video page, their camera and microphone stop automatically.
- If they only navigated within the same project, they can return using “Return to the video room” in the header.
- As a moderator, if you need to open settings or another page, open it in a separate browser window to keep the video session active.
Weak connection handling
- If a participant has a poor connection, video quality is reduced automatically.
- Other users see a weak signal indicator.
- If needed, video may stop completely while audio continues.
- An icon replaces the video when this happens.

Moderator’s tools
The middle column contains participant controls:
- Camera icon (X): stop a participant’s camera
- Circle icon: remove and block a participant from the project
- Chat hide icon: hide a participant’s text messages from others (visible only to moderator)
Text chat
- Located below the video panel
- Useful for links, short answers, or written tasks
Guide and whiteboard
The right side contains:
- Discussion guide (imported from your project)
- Whiteboard for showing images or videos
Using the whiteboard
- Upload all materials before the session.
- Select a file from the dropdown and send it to the whiteboard.
- The content appears for all respondents within seconds.
- You can allow respondents to draw with red or green pencils
(e.g. highlight likes vs. dislikes).

Respondent’s view
Respondents see a simplified interface:
- Left: video grid
- Below: text chat
- Right: whiteboard (larger than the moderator’s view)
- No moderator tools are visible
Mobile view
- On smartphones, video is shown on top, whiteboard and chat below.
- Respondents usually need to scroll down to see the whiteboard and chat – mention this at the start of the session.
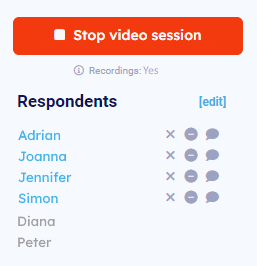
Ending the session
- Click “Stop video session” (red button) in the middle column.
- All participants will be disconnected.
- If recording is enabled, the recording is finalized and saved.
Recordings
- Enable recording in Page settings → Recording: Yes
- Recording starts automatically when the moderator starts the session.
- Recording stops and saves when the session ends.
- If you restart the session in the same project, a new recording is created.
- All recordings are available in the Export section.

Video credits (pricing)
To conduct video sessions you will need video credits for your Quallie account. You can see the balance in the My Account section.
You can use our interactive calculator to find out how many credits you need for your project – the amount depends on the number of participants and the length of the session.
More resources:
How to set up a text-based live chat
How to set up a video focus group
Tutorial for moderators – text-based live chat
Tutorial for moderators – video focus group
Video tutorial (old version – we will updated it soon)
Click Play to watch the video tutorial. A full text version is available below the video.